How to Create a Zapier Connection
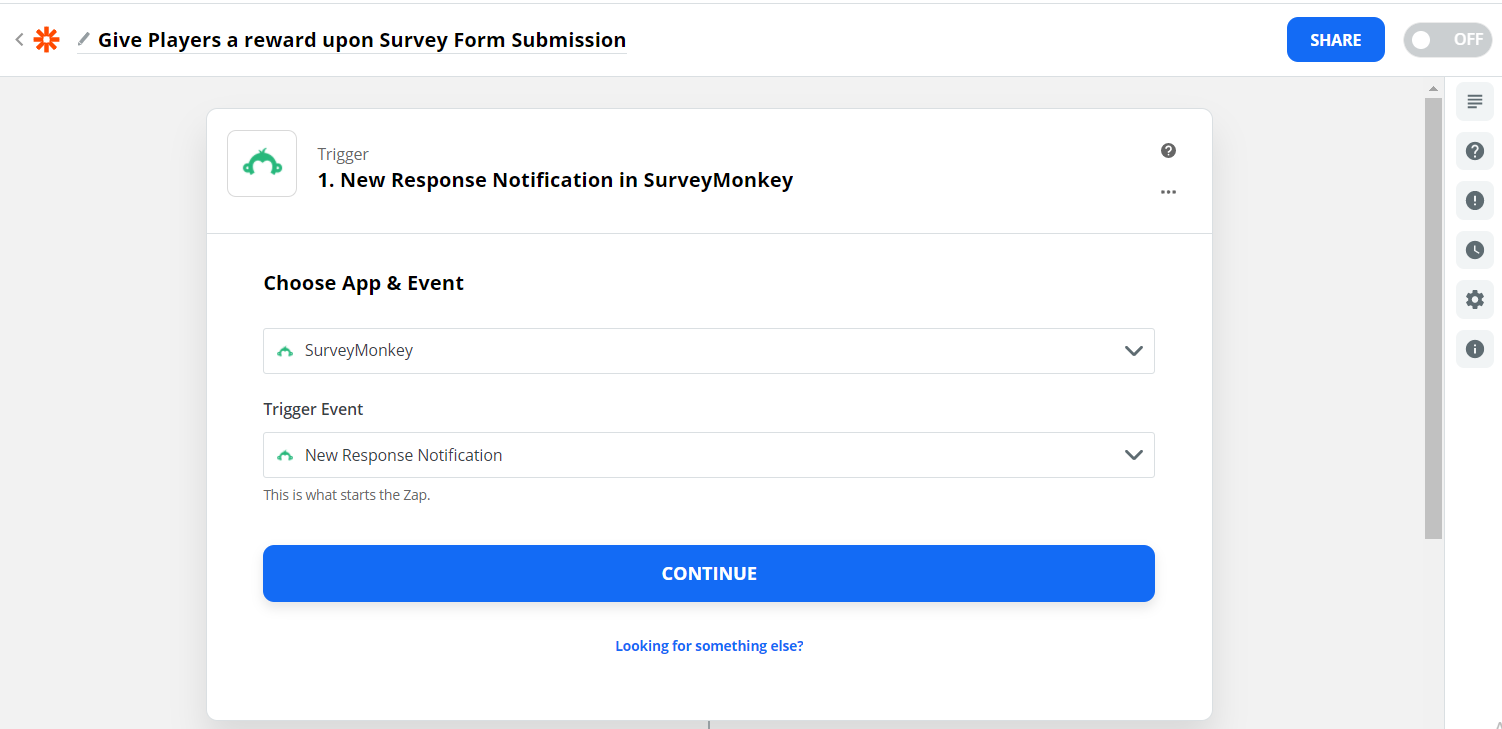
Choose a Trigger and Action App
- Go to zapier.com.
- In the left box, search for any app you want to set as the trigger app.
In this guide, we will use SurveyMonkey as the trigger app to reward players upon survey form submission. You must be on a paid plan on SurveyMonkey to use this feature.
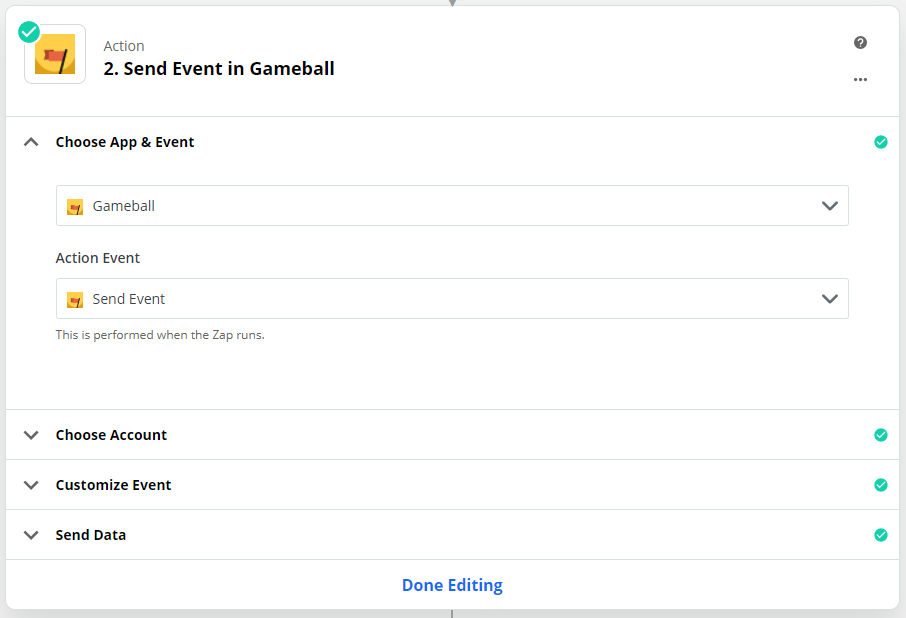
- Search for Gameball in the right box.
- Select a trigger, then choose Send Event as the Gameball action.
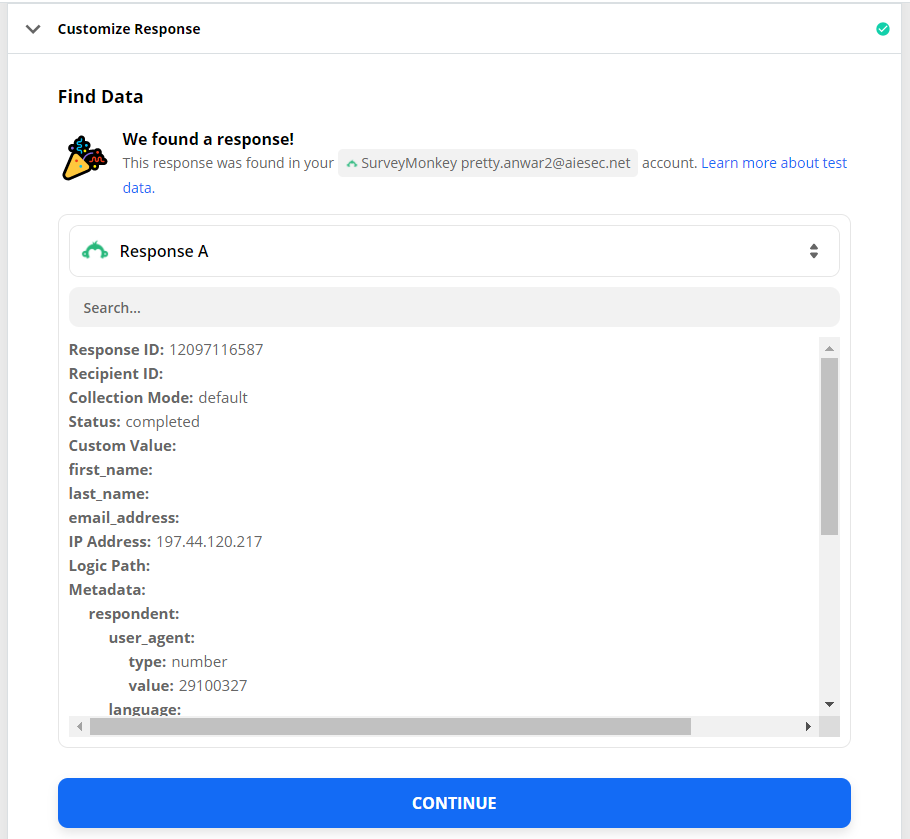
- Click Try it.
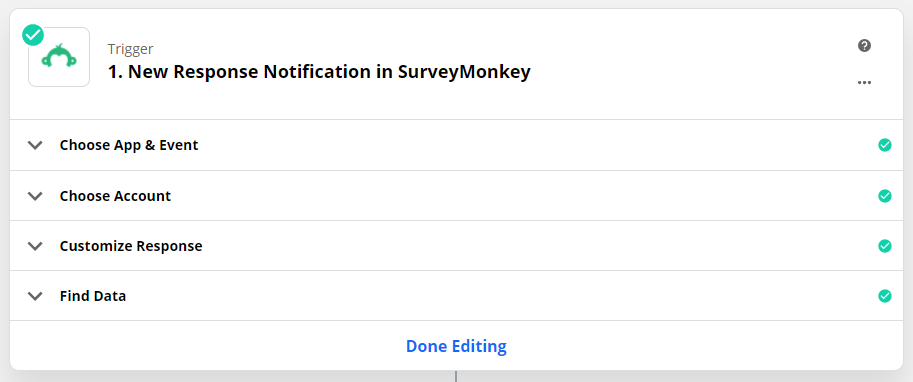
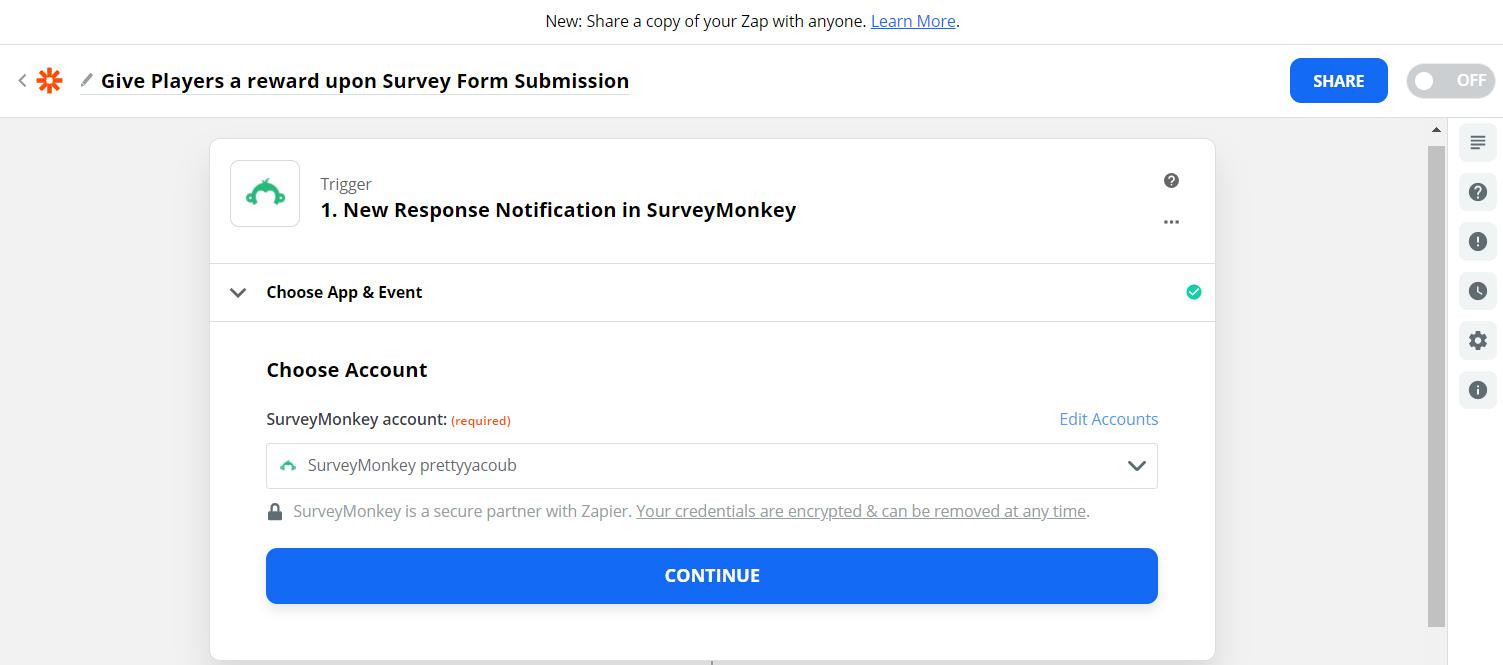
Configure the Trigger
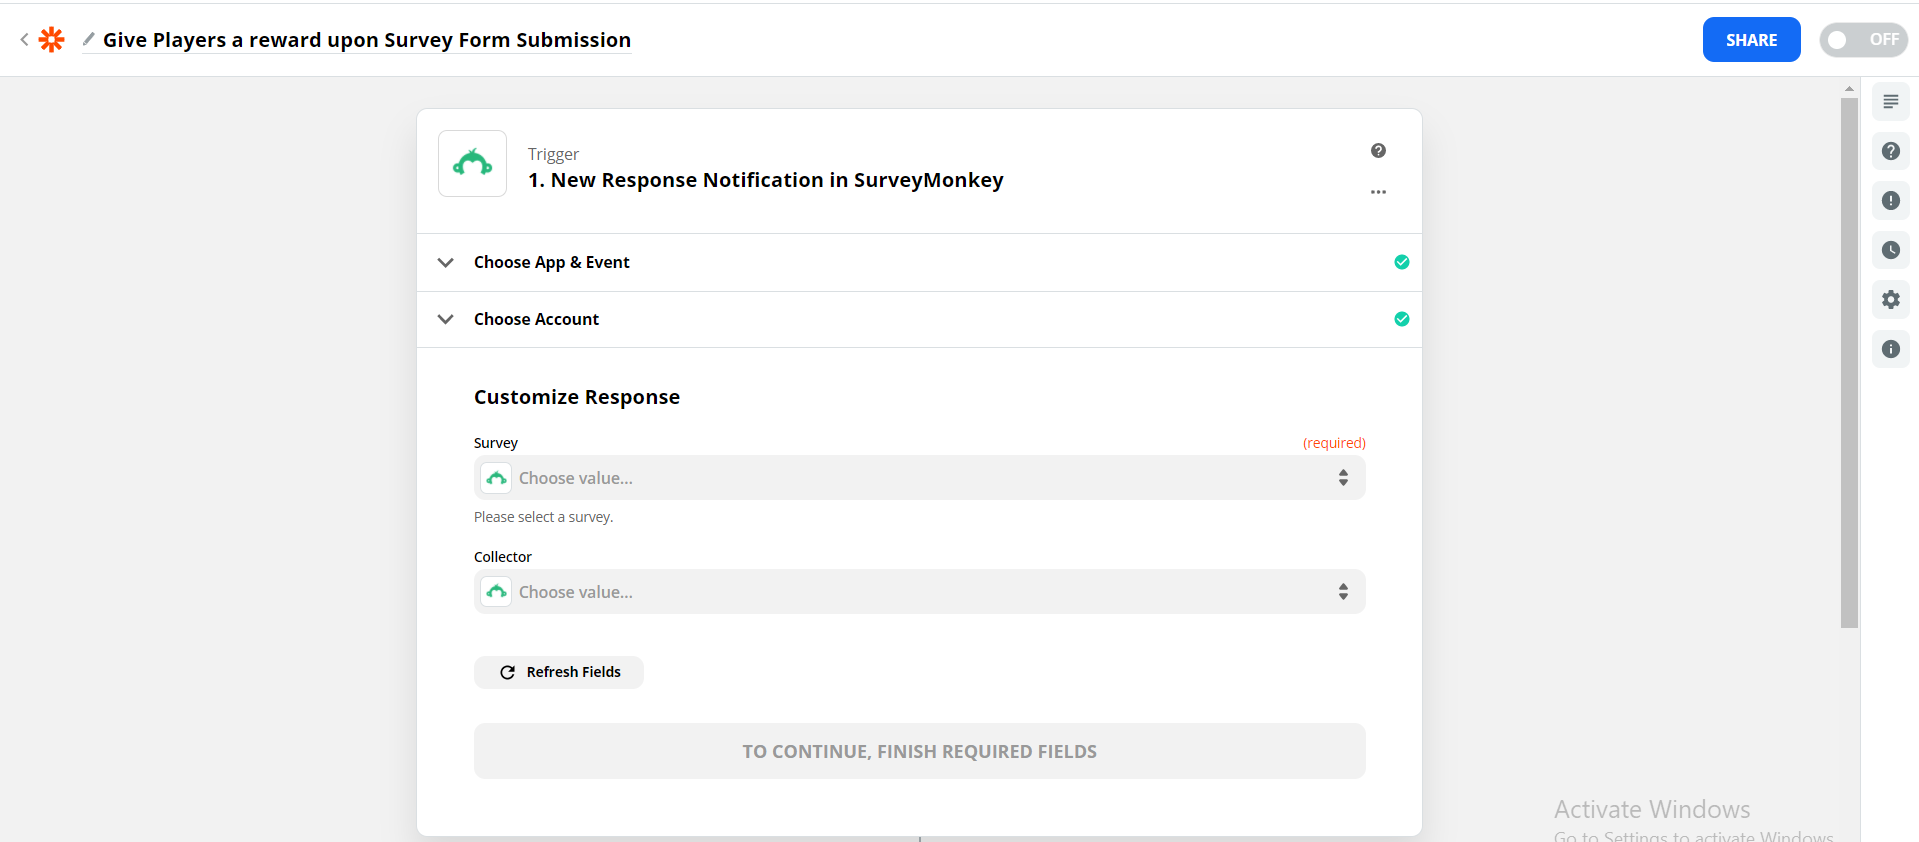
A trigger is any event that starts a Zap. Read more on triggers on Zapier.In this use case, make sure your players submit their email addresses in the survey. The email address submitted must match the one stored at Gameball.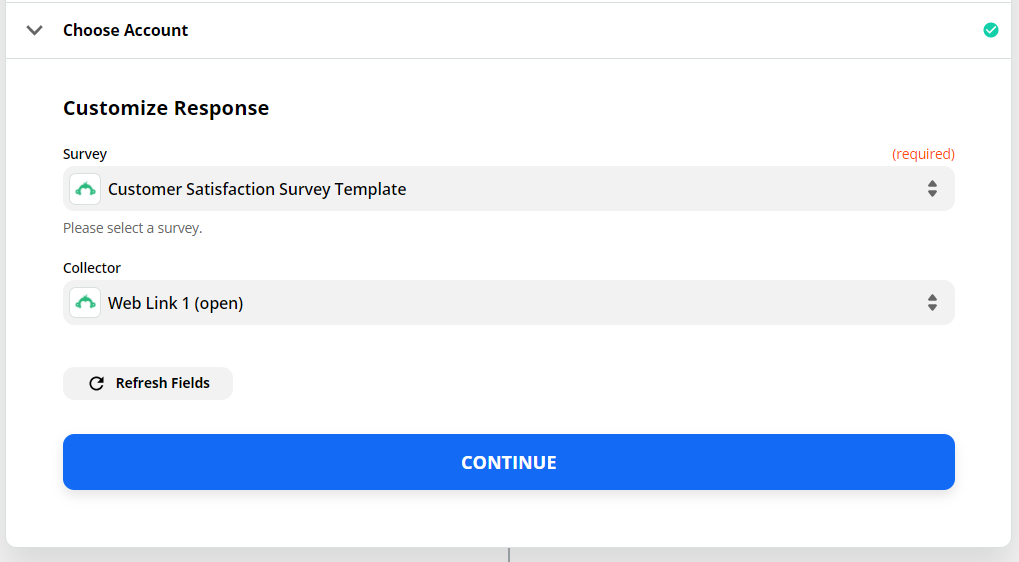

A collector on SurveyMonkey is a shorthand for describing the way responses are being collected.
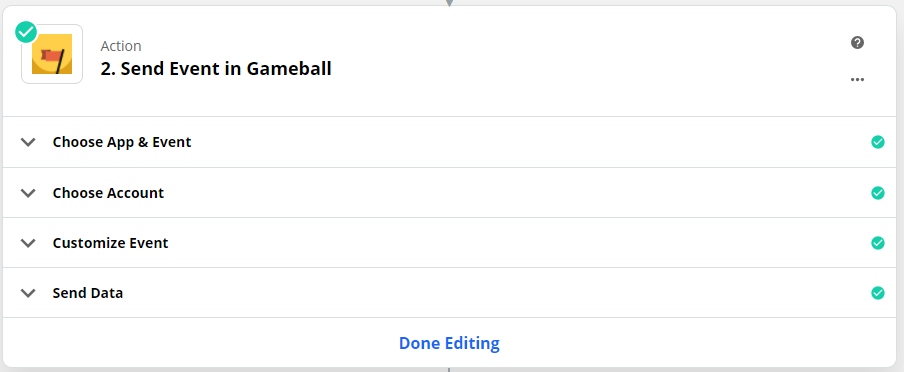
Configure the Action
An action is a job your Zap does once your trigger event occurs. Read more on actions on Zapier.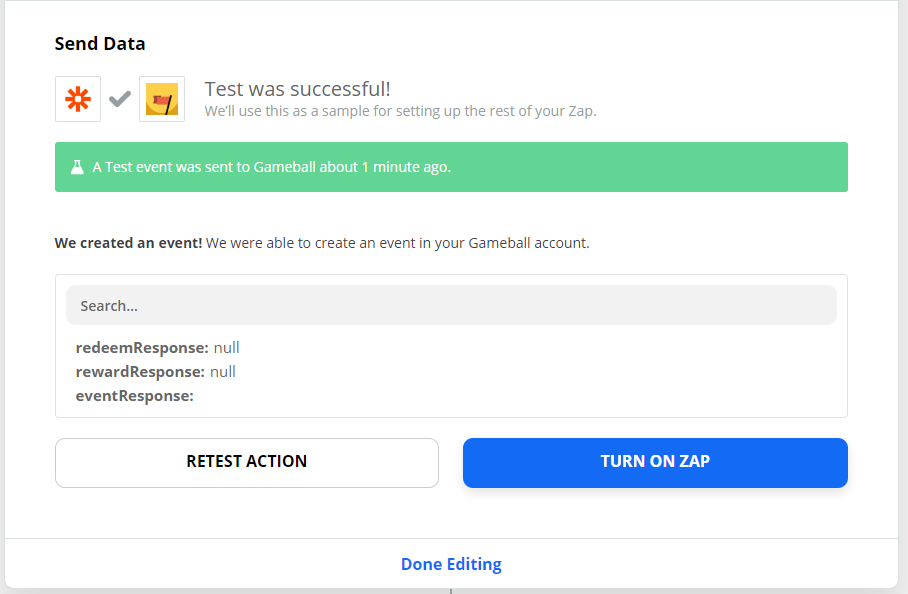
You might need to add your API key. Learn where to find your Gameball API key.
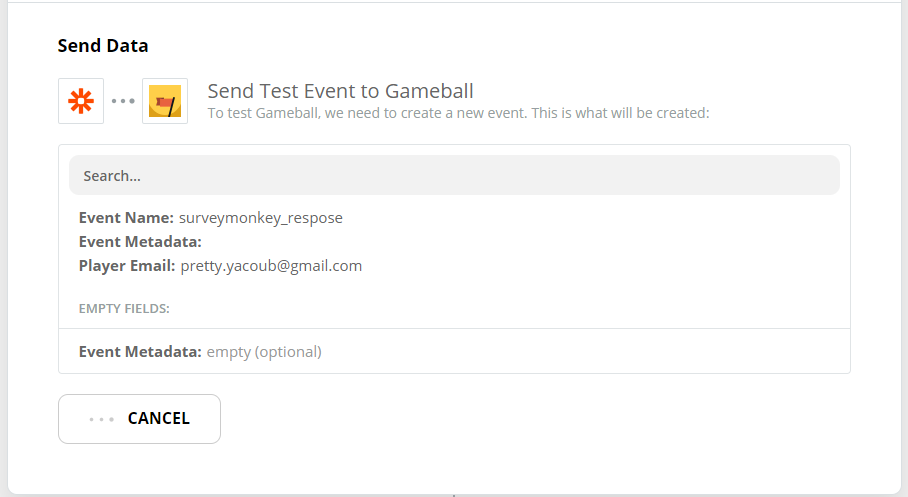
Make sure you add the name in this format:
appname_eventname. Leave metadata empty if not needed. Add the player email to choose the player you want to reward.If you enter an email for a player that is not already created on Gameball, the player will be created automatically.Configure Challenge on Gameball
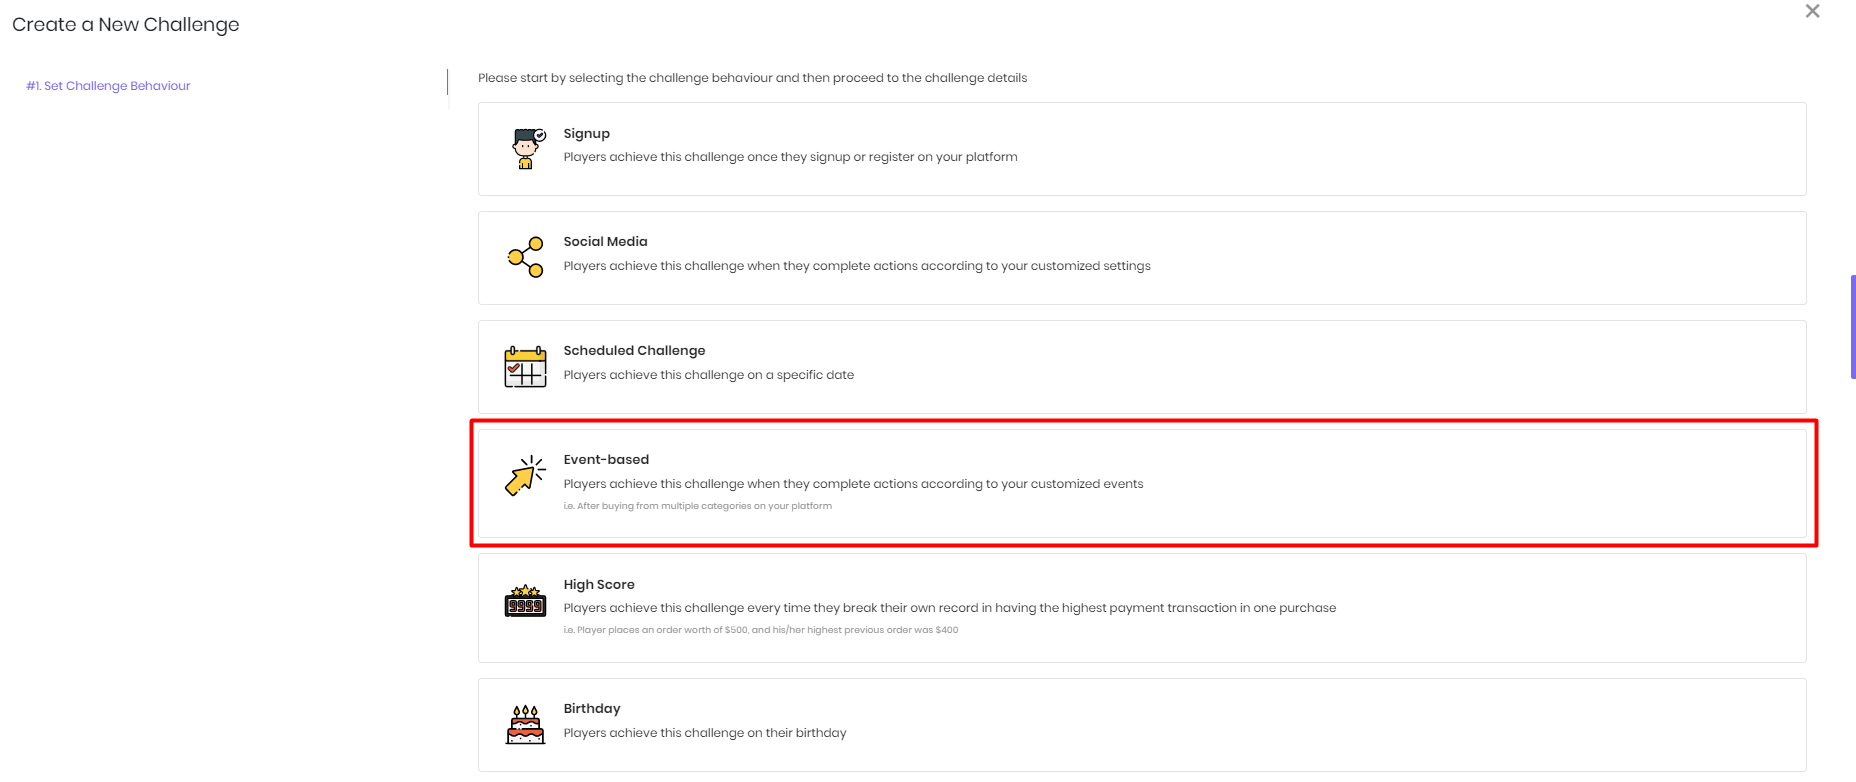
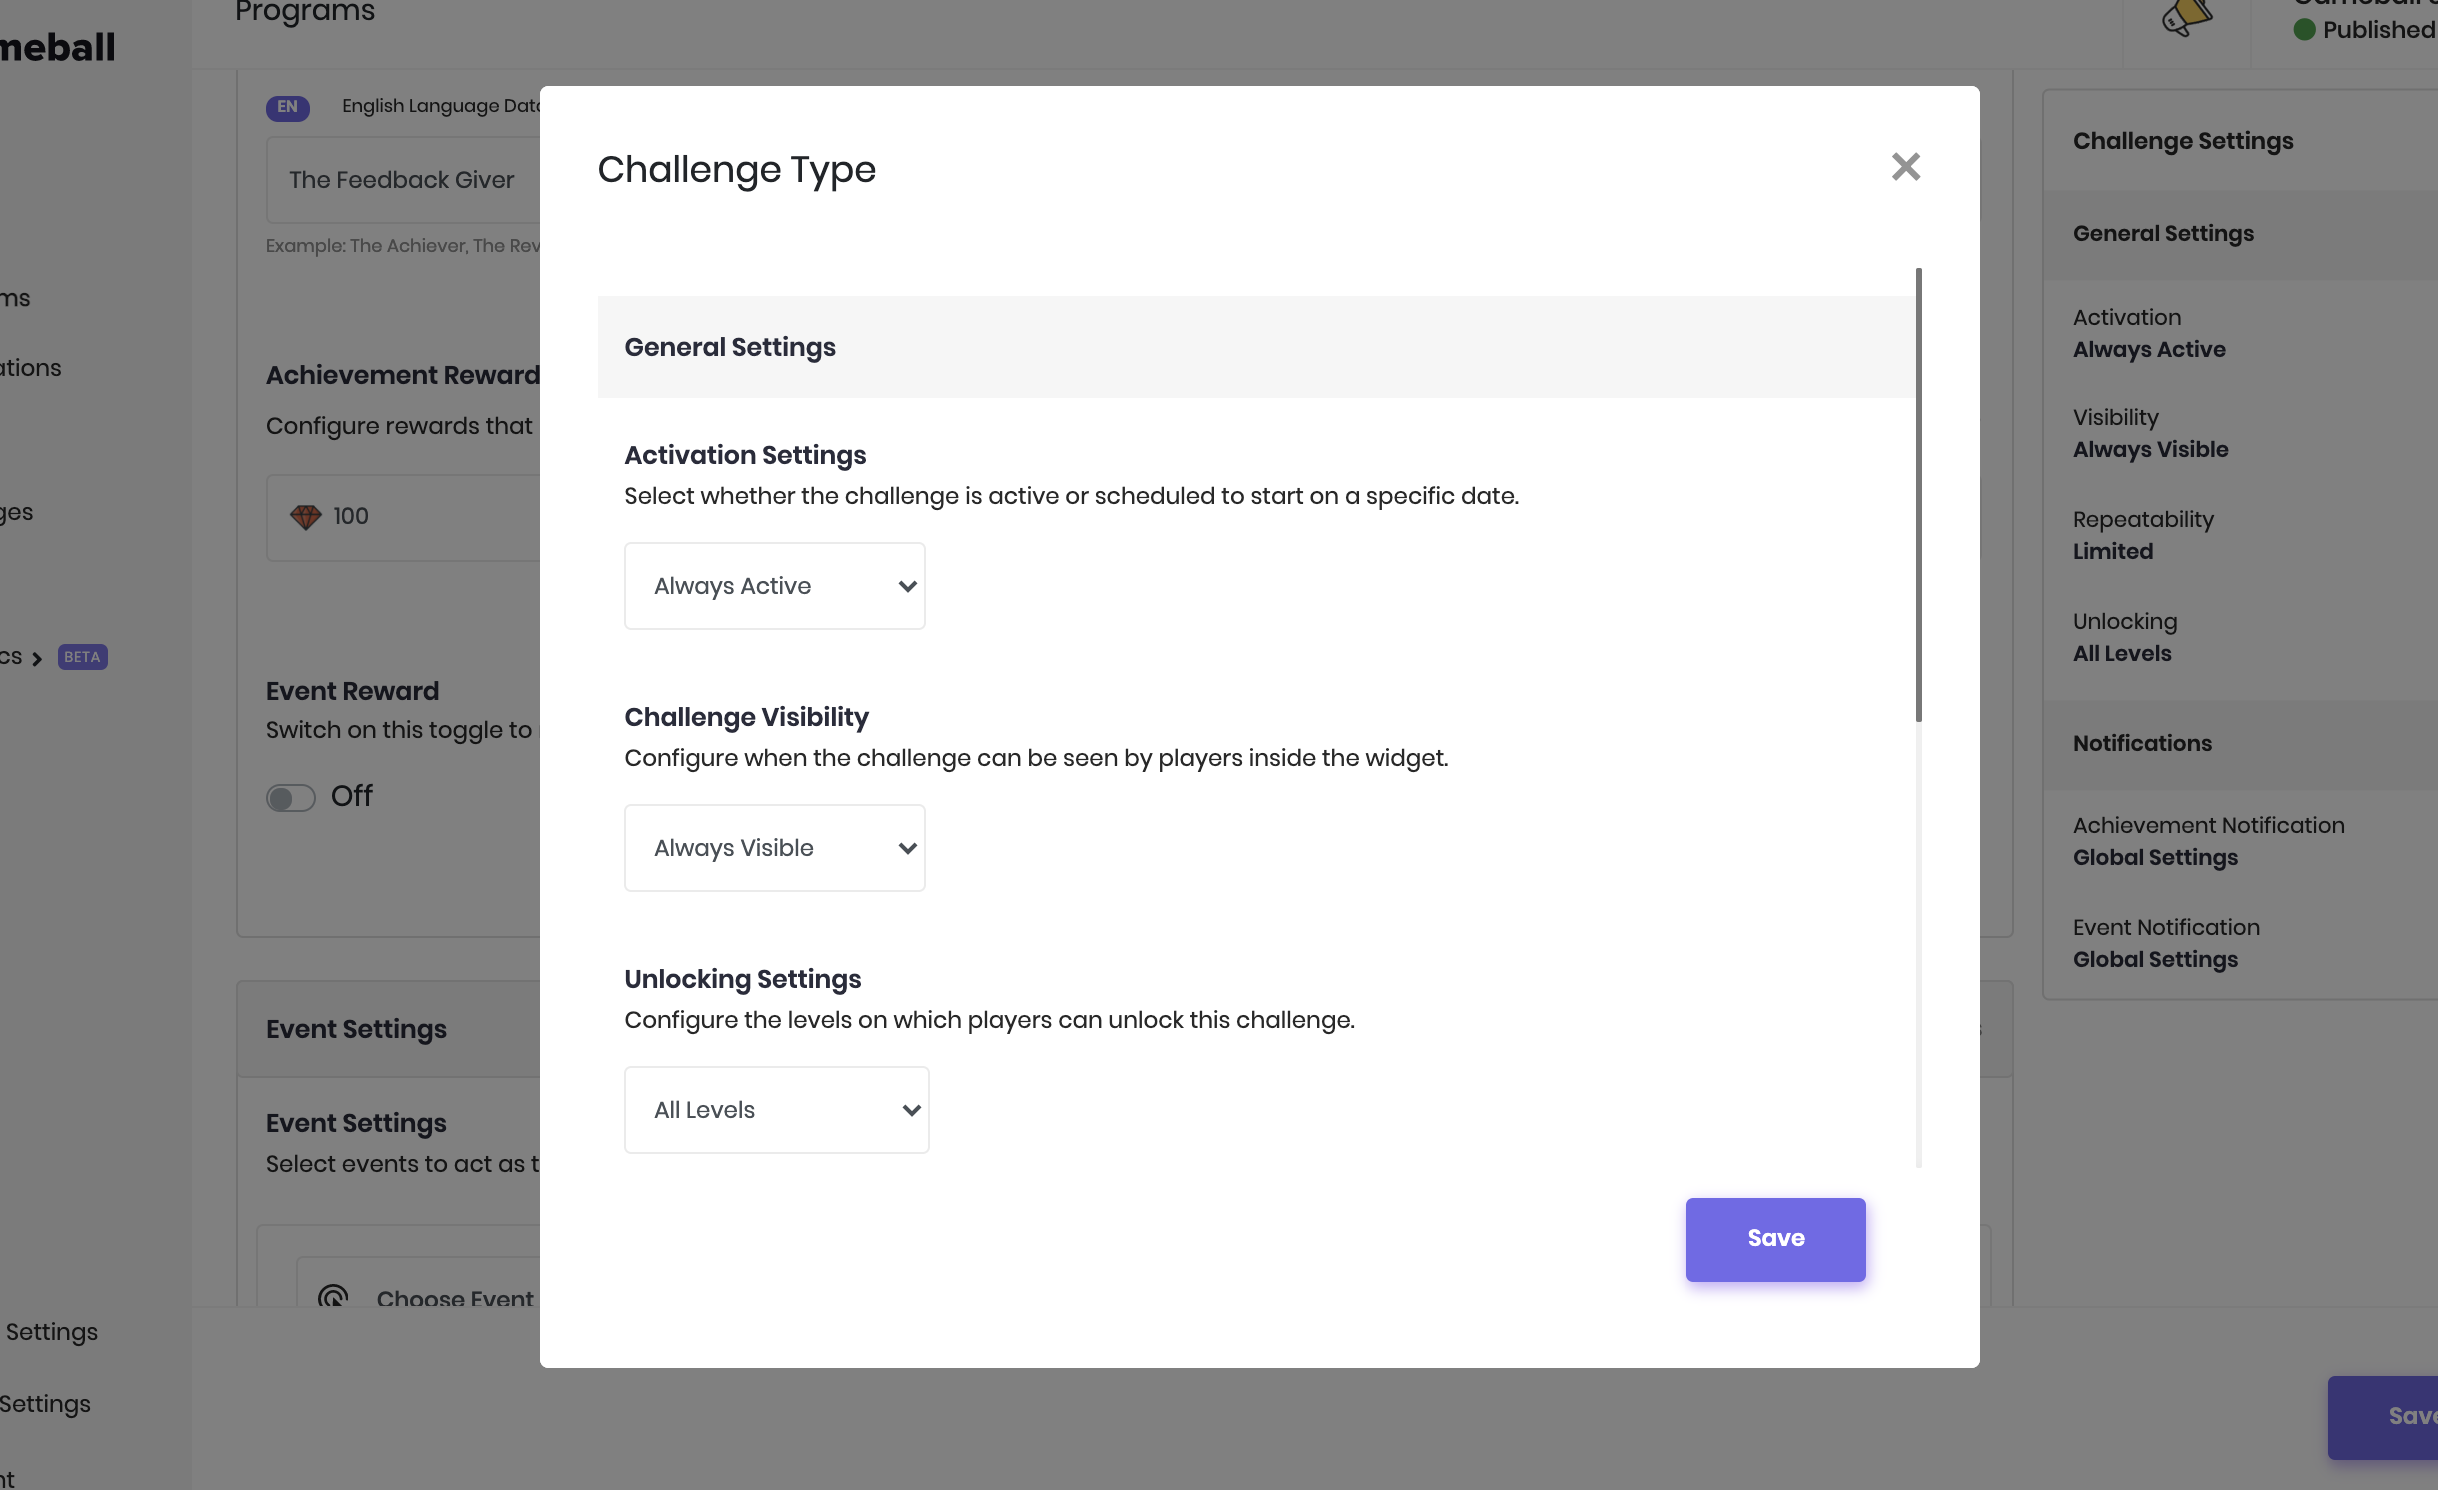
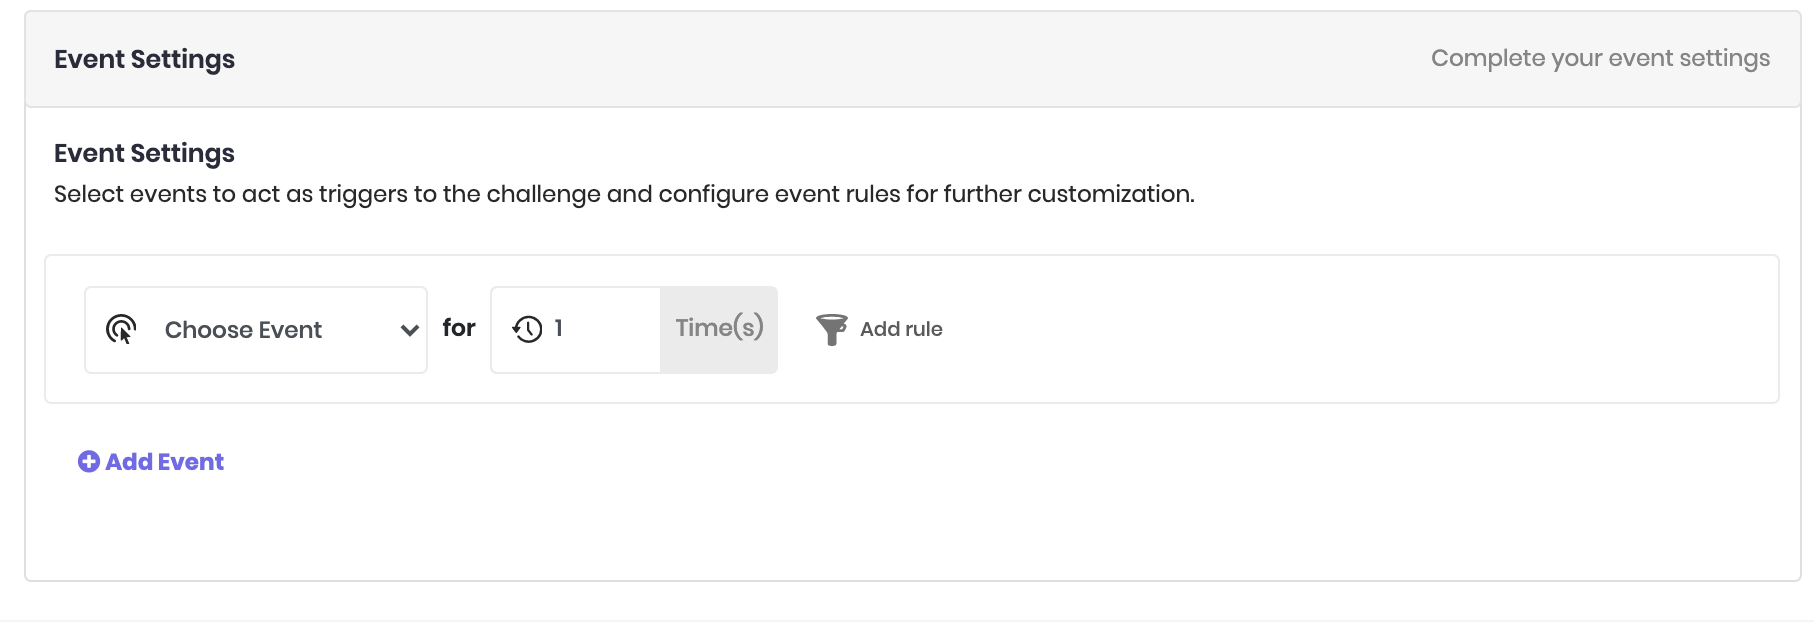
Log in to your Gameball Admin Dashboard, go to Programs > Challenges, and click Add New Challenge.A. Set Challenge Type - Choose Event-based as the challenge type and click Next.


Connecting and Using Zapier with Gameball
Explore Gameball templates and use cases on Zapier.